Add 1/2 to 3/4 can of frosting to your cake crumbles. I used cream cheese frosting ЈC again, because itЁЏs what I had on hand. Next time I try this I want to make the cake and frosting from scratch!
Mix your frosting and cake crumbles together.
Now you need to chill your mixture. You can do this by placing the bowl in the refrigerator for a few hours or in the freezer for 15-30 minutes. By the time I got around to crumbling and mixing, it was later at night, so I left my bowl in the fridge overnight.
Chilling the mixture makes it much easier to work with when you are rolling it into balls.
Working with chilled ЁАdough,ЁБ I rolled it all into equal sized balls and placed the balls on wax paper.
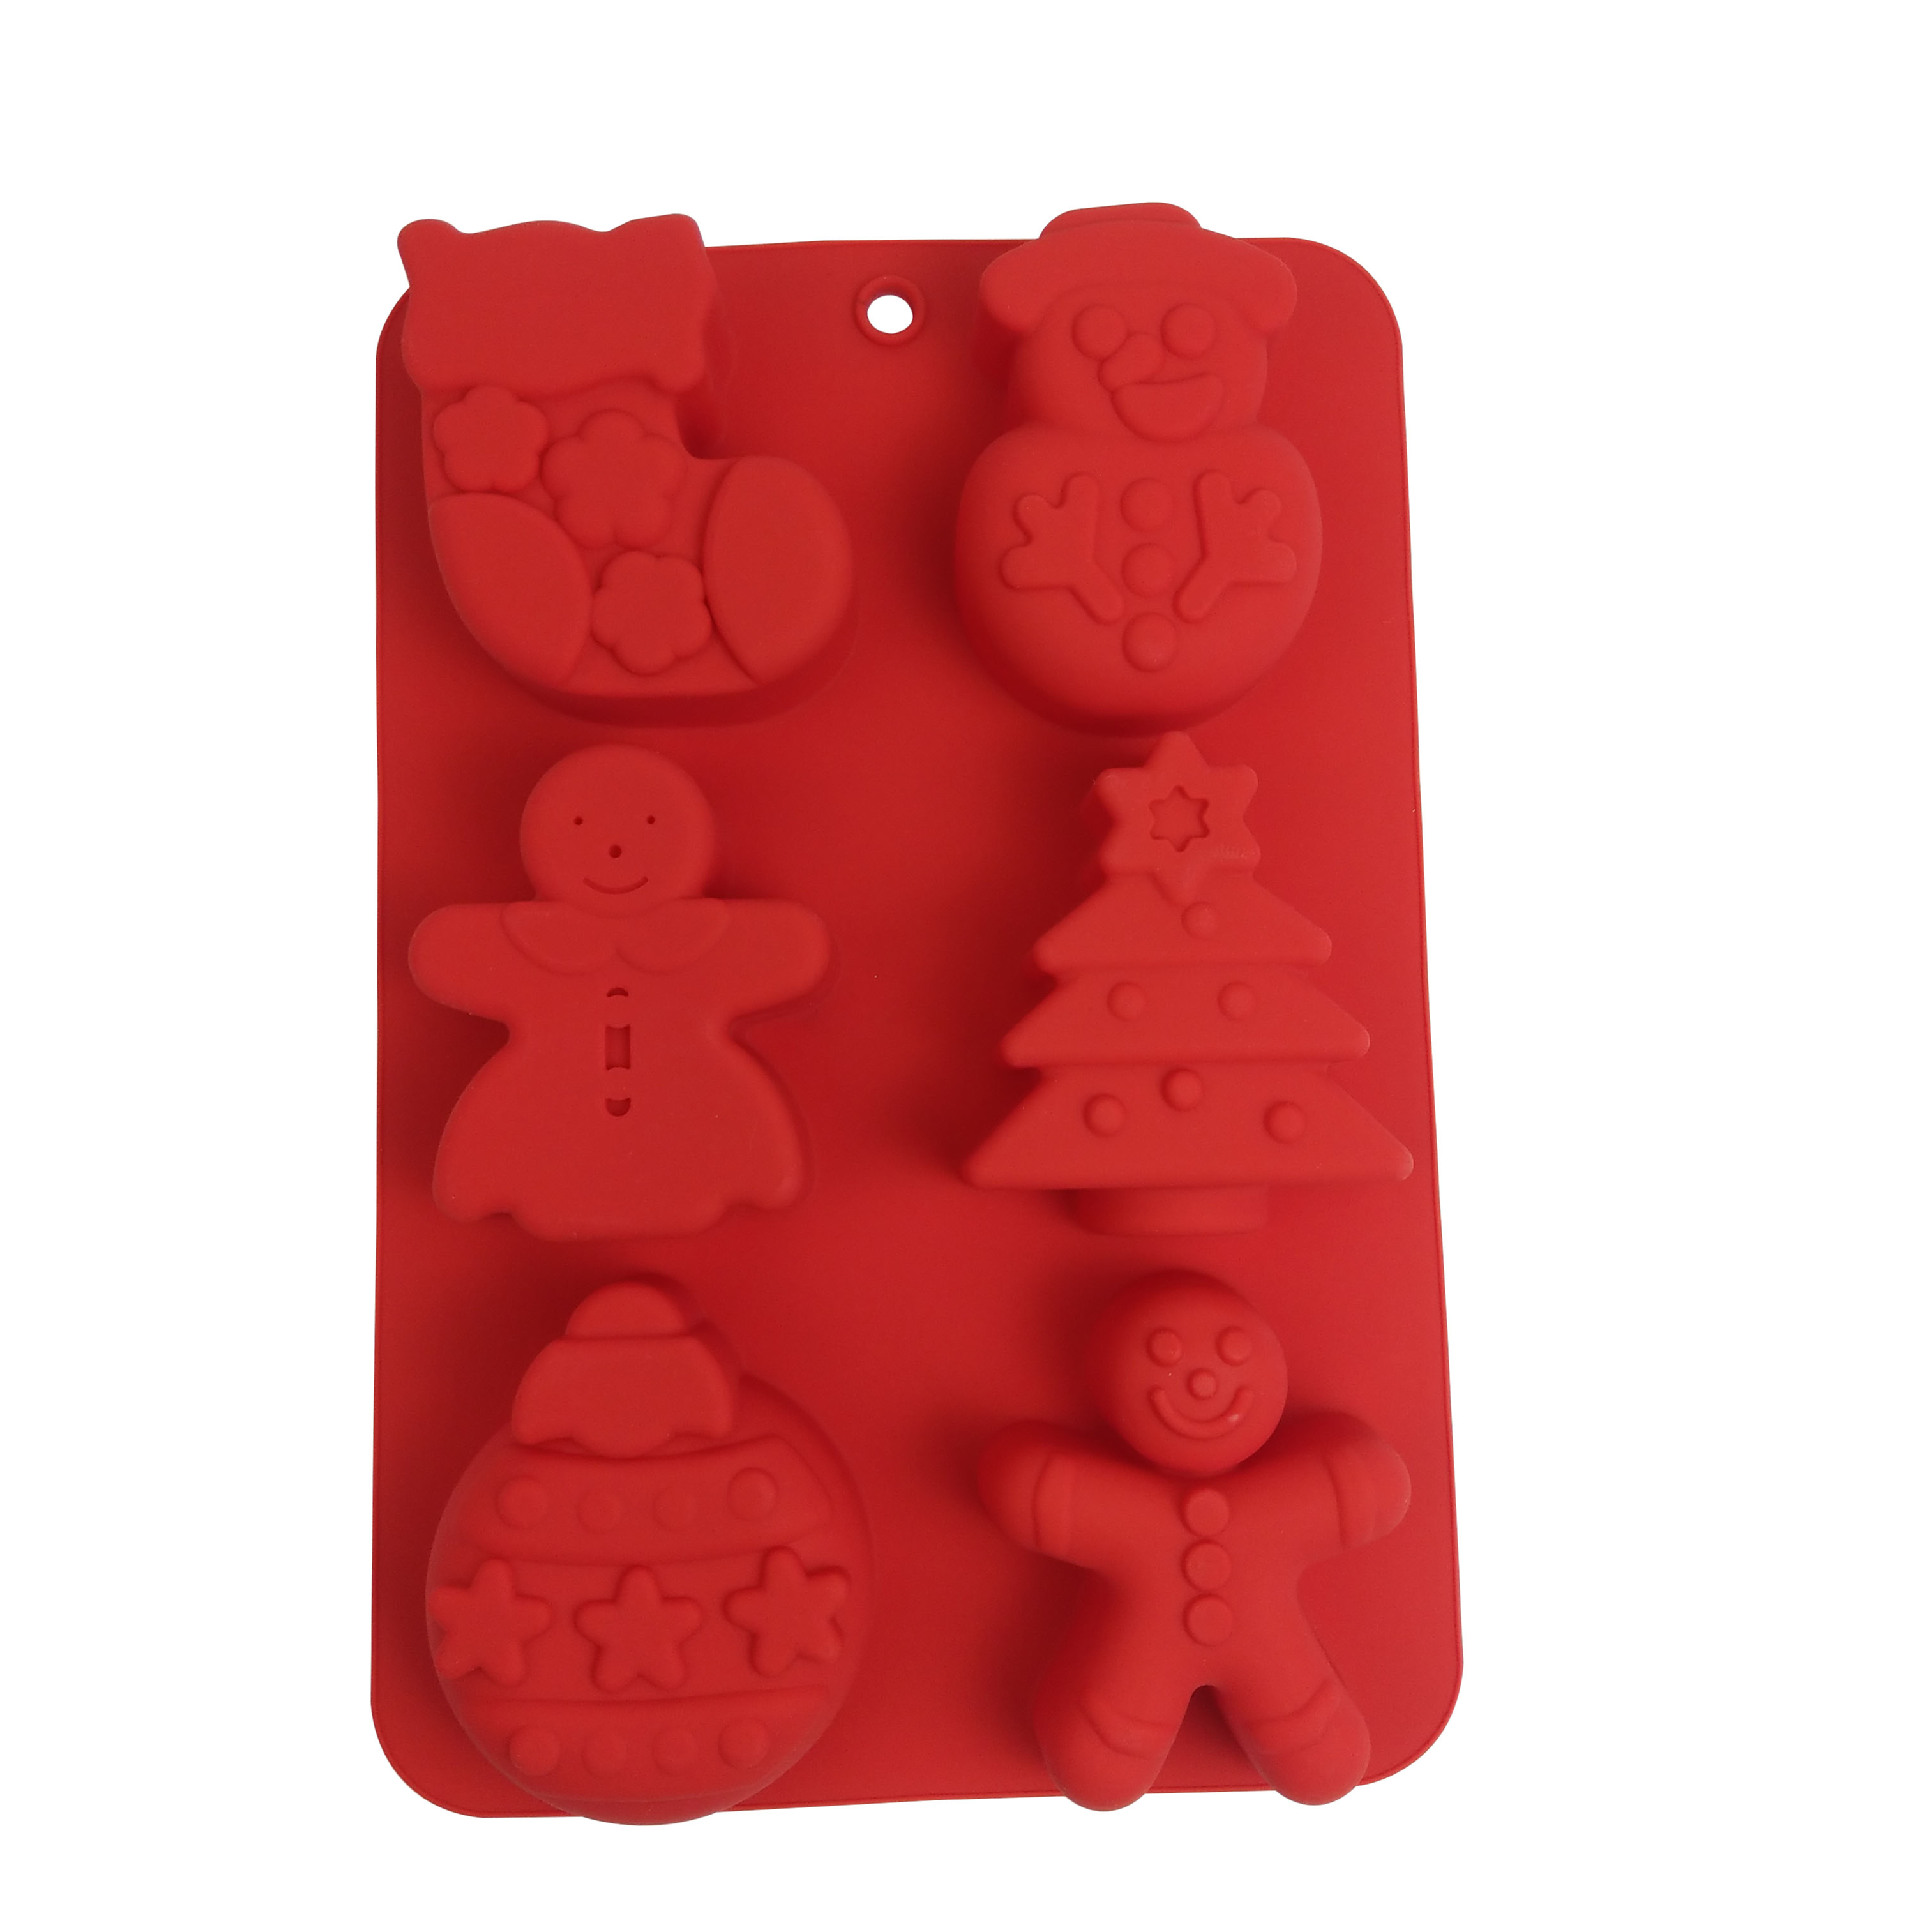
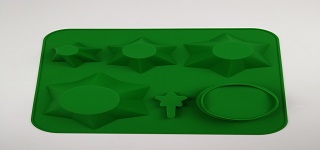
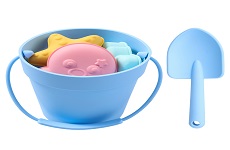
I pulled the silicone mold cake pops out of their container and placed them next to each other. The difference is pretty obvious ЈC not just the size (because I could have hand rolled mine to be smaller) but the cake pops from the molds will be straight up cake. They are lighter and fluffier and well, more cake-like. The pops that I hand rolled are dense, moist and pre-mixed with frosting.


I filled my
Wilton Chocolate Melterwith white chocolate melts while I set up my workspace on the dining room table.


Helpful tip ЈCsometimes the candy stick has trouble staying in the cake pop ЈC especially when you are dipping it into the thick melted chocolate. What worked best for me, was to poke a hole into each cake pop with the stick Then I dipped the stick into the melted chocolate and put the stick back into the cake pop. I let the pop sit for a few minutes before attempting to dip in the chocolate ЈC letting the stick set a bit.
Now itЁЏs time for some dipping!

I held the cake pops over a small bowl and shook various sprinkles over the entire pop. I placed them standing up in small holes covering the top of a cardboard box. (A piece of styrofoam would work great for this.)
Now, there were definitely a few OOPS moments along the way ЈC several pops collapsed because I accidentally shoved the sticks in too far.
The carnage
:

Several pops that threatened to join the carnage pile were saved because I placed them top down on wax paper before they could fall apart.

With the smaller (silicone molded) pops, I tried something else ЈC I left the stick off and just covered them in chocolate. Then I placed them on wax paper and sprinkled.
I have to say ЈC first attempt ЈC IЁЏm totally pleased. I am glad that I got over my intimidation and just made them. I canЁЏt wait to make more!!
And how did I like the molds vs. the by-hand method? If I was pressed for time, the molds would be AWESOME ЈC they are a total time saver and SO simple to use! I enjoyed the taste of the hand-made pops way more than the cake that popped out of the molds ЈC so if flavor was my goal, I would go the more labor-intensive route


 2227361358
 refinesales.export
 refinesilicone
 +86-769-33269015